Generate Self Signed Certificate Manually for kubernetes cluster
In this tutorial you are going to learn how to obtain HTTPS access by generating a self-signed certificate for Kubernetes using openSSL, easyRSA, CFSSL and cert-manager.
Generate Certificate via Easy-RSA
Using Easy-rsa you can generate root certificate authorities, requesting and signing certificates.
Step-1: Install Easy-RSA and generate a self-signed CA
Download easy-rsa package using curl command as follows
curl -LO https://dl.k8s.io/easy-rsa/easy-rsa.tar.gz
Unpack the archive you have downloaded
tar xzf easy-rsa.tar.gz
navigate into the easyrsa3 folder as follows
cd easy-rsa-master/easyrsa3
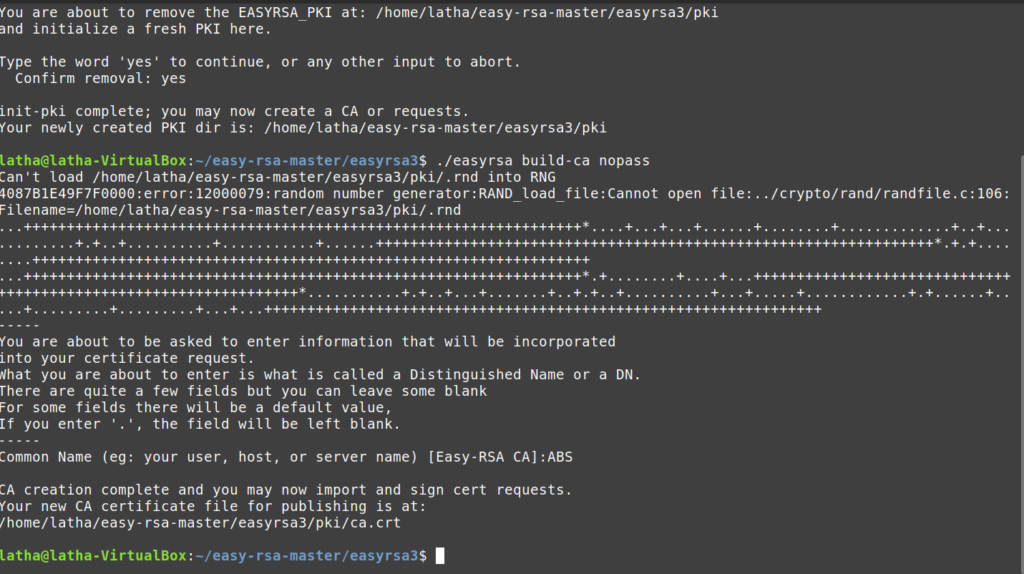
Once you are in the directory then initialize PKI inside the easy-rsa directory
./easyrsa init-pki

To create a self-signed CA you have to use the following command as follows
./easyrsa build-ca nopass

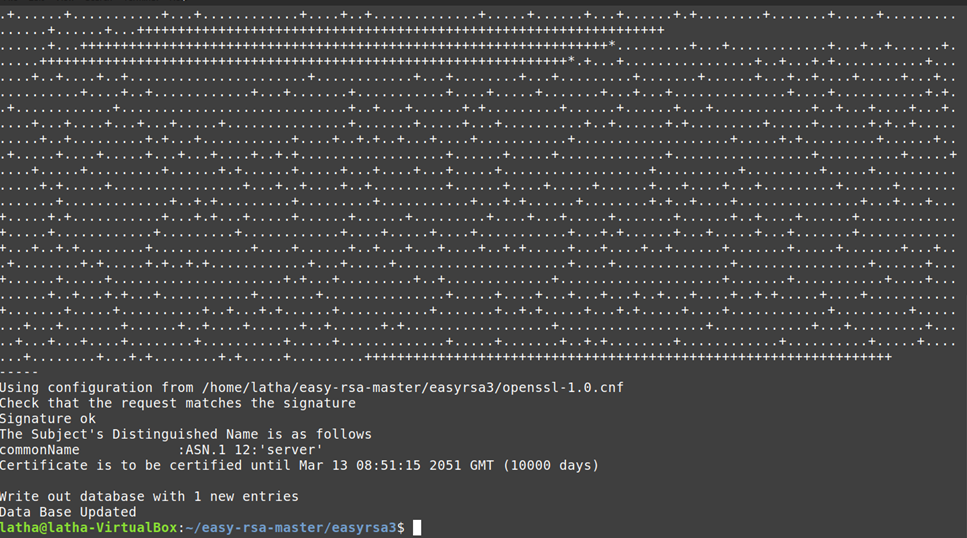
Step2-Generate server certificate and key
Here we are generating a server certificate and key using the following command as follows.
The –subject-alt-name option sets the IP addresses and DNS names for accessing the API server. The –days option is used to set the expiration date of certificate.cluster.local is the default DNS domain name.
					./easyrsa --subject-alt-name="IP:[master-IP-address]," \
"IP:[master-cluster-IP-address]," \
"DNS:kubernetes," \
"DNS:kubernetes.default," \
"DNS:kubernetes.default.svc," \
"DNS:kubernetes.default.svc.cluster," \
"DNS:kubernetes.default.svc.cluster.local" \
--days=10000 \
build-server-full server nopass


Copy pki/ca.crt, pki/issued/server.crt, and pki/private/server.key to your directory.
2.Generate Certificate using openssl
OpenSSL allows you to generate TLS certificates manually. The following steps show how to use OpenSSL to generate keys and certificates for your cluster.
Step 1: Install OpenSSL
The OpenSSL tool is commonly pre-installed on Linux systems.Check whether openSSL is installed in machine using the following command as follows
Openssl version -a
If it shows any version then openSSL has installed in our machine.otherwise installed it using the following command sudo apt install openssl

1.Generate a ca.key with 2048 bit
Generate a 2048-bit RSA encrypted key for certificate signing using the following command
openssl genrsa -out ca.key 2048
2.Using the ca.key to generate a ca.crt
Generate ca.crt using the ca.key as follows
openssl req -x509 -new -nodes -key ca.key -subj "/CN=kube-apiserver" -days 10000 -out ca.crt
3.Generate a server.key
Generate a server.key with 2048 bit as follows
openssl genrsa -out server.key 2048
4.Create a config file for generating Certificate Signing Request (CSR)
Create a csr.conf to generate a certificate signing request. Replace the values marked with angle brackets with real values.
					[ req ]
default_bits = 2048
prompt = no
default_md = sha256
req_extensions = req_ext
distinguished_name = dn

[ dn ]
C =
ST =
L =
O =
OU =
CN =

[ req_ext ]
subjectAltName = @alt_names

[ alt_names ]
DNS.1 = kubernetes
DNS.2 = kubernetes.default
DNS.3 = kubernetes.default.svc
DNS.4 = kubernetes.default.svc.cluster
DNS.5 = kubernetes.default.svc.cluster.local
IP.1 =
IP.2 =

[ v3_ext ]
authorityKeyIdentifier=keyid,issuer:always
basicConstraints=CA:FALSE
keyUsage=keyEncipherment,dataEncipherment
extendedKeyUsage=serverAuth,clientAuth
subjectAltName=@alt_names
5.Generate a certificate signing request based on the above config file
openssl req -new -key server.key -out server.csr -config csr.conf

6.Generate the server certificate
Generate the server certificate using the ca.key, ca.crt and server.csr using the following command.
					openssl x509 -req -in server.csr -CA ca.crt -CAkey ca.key \
    -CAcreateserial -out server.crt -days 10000 \
    -extensions v3_ext -extfile csr.conf -sha256
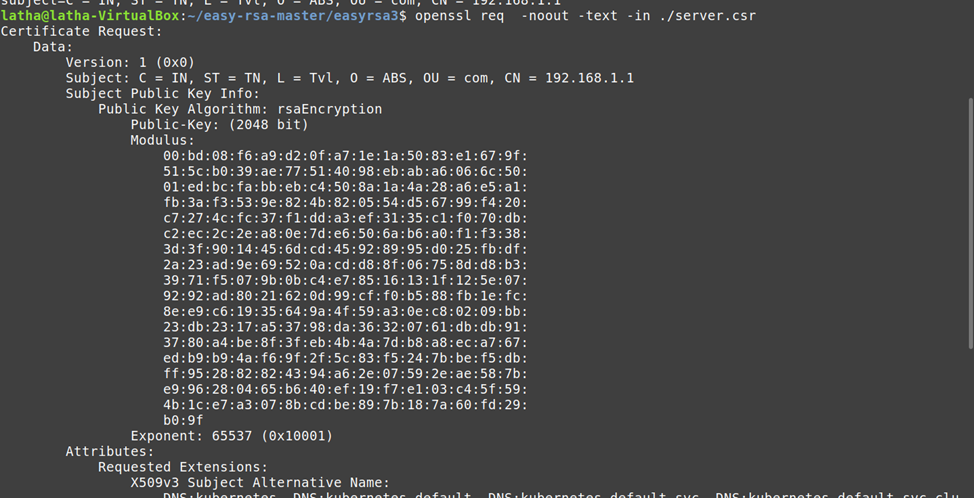
7.View the certificate signing request:
openssl req -noout -text -in ./server.csr


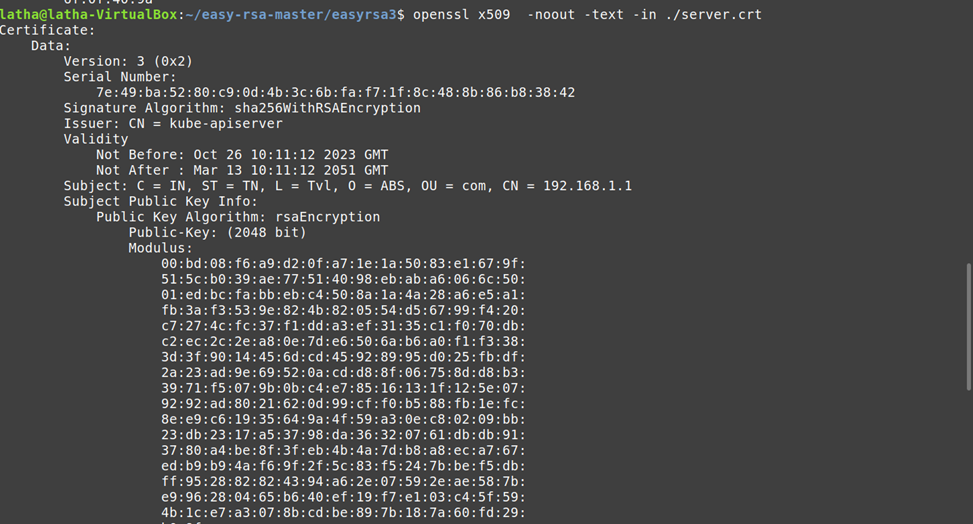
8.View the certificate:
View the certificate using the following command as follows.
openssl x509 -noout -text -in ./server.crt


